
Introduction
Crochet is a wonderful craft that allows you to create beautiful, handmade items using just a hook and yarn. As a beginner, it's essential to build a solid foundation of crochet techniques. One such technique is the magic ring, also known as the magic loop or magic circle.
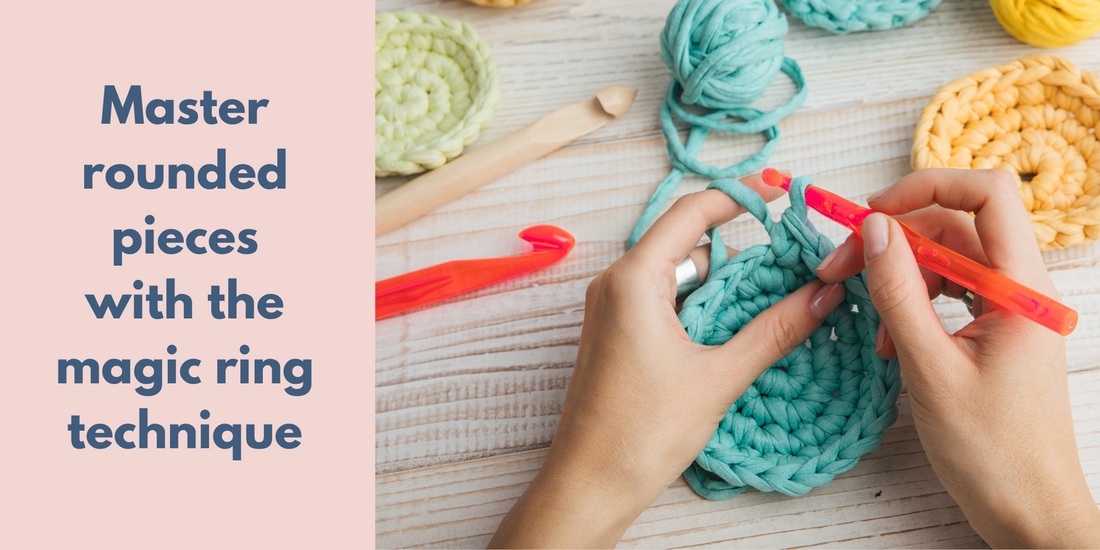
The magic ring is commonly used in amigurumi, hats, and other crochet projects that begin with a center circle. In this blog post, we will demystify the magic ring and guide you through the process of creating one.
What is a Magic Ring?
The magic ring is a technique used to start crocheting in the round, forming a tight center circle. It replaces the traditional method of chaining a few stitches and joining them to form a circle.
The advantage of the magic ring is that it allows you to easily adjust the size of the center hole by pulling the yarn tail. This technique provides a neater and more professional finish, especially when working on projects that require a closed center, like amigurumi.
Step-by-Step Guide to Creating a Magic Ring:
Step 1: Hold the yarn
Wrap the starting tail around your index and middle finger (the long piece of yarn is your "working yarn" and the short piece is your "starting tail").

Step 2: Secure the yarn
Hold the working yarn in place with your pinky finger.

Step 3: Insert your hook
Insert your hook from right to left under the bottom yarn and over the top yarn.

Step 4: Grab the yarn
Grab the top yarn with the hook.

Step 5: Create a loop
Pull the yarn through and twist the hook so that you now have a loop on the hook.

Step 6: Create a slip knot
Yarn over with the yarn that you're holding in place with your pinky finger and pull it through the loop.

You will have created a slip knot in your magic ring.

In order for the magic ring to work, you have to work the first round of stitches over the ring and the starting tail together.

Step 7: Start the first round stitches
Crochet the stitches required for the first round (e.g., single crochet, half double crochet, double crochet) into the center of the ring. Follow your pattern instructions to determine the number of stitches and the type of stitch to use.
In order to start a ring of single crochet stitches, insert your hook from front to back, under your starting tail and the magic ring.

Step 8: Complete the stitch
Yarn over and pull up a loop, through the starting tail and the magic ring.


Yarn over again and pull through both loops on your hook.


Repeat this process until you have the desired number of stitches in your magic ring.


Step 9: Close the ring
Once you've completed the required stitches for the first round, gently pull the tail of the yarn to tighten the center hole of the ring. You can adjust the tightness according to your preference and the desired size of the hole.


Conclusion
Congratulations! You've learned how to create a magic ring, a fundamental crochet technique that opens up a world of possibilities for your projects. With this technique, you'll achieve a clean and professional start to your rounds, particularly in projects like amigurumi and hats. We always use this technique on our Crochetree dolls.
Remember to practice the steps outlined above and explore various patterns to enhance your crochet skills. Enjoy the journey of creating beautiful crocheted items using the magic ring technique!


![The Ultimate Beginner's Guide to Crochet [2026]](http://crochetree.com/cdn/shop/articles/feat-ultimate-beginners-guide-to-crochet_eae81cec-84d0-455d-b190-08cd22d826c4.jpg?v=1777713815&width=533)


