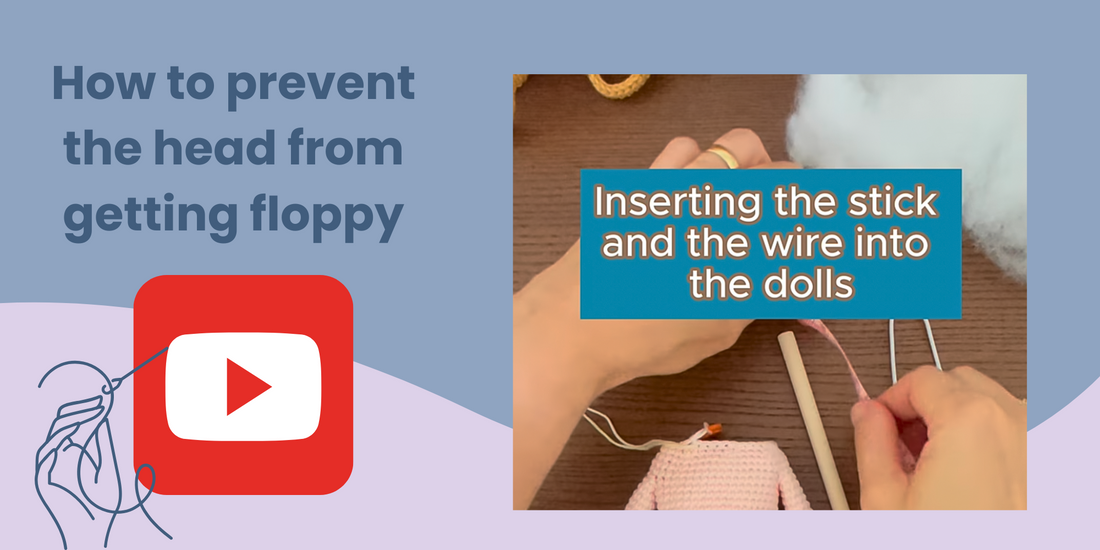
We've heard from some of you that your dolls' heads are getting a bit floppy. To tackle this issue, I'd like to share with you a few simple steps that I use when creating my own crochet dolls. It involves using a thick wooden stick for stability, attaching wire to the arms, and stuffing the doll firmly.
Here's your step-by-step guide:
-
Purchase the Wooden Stick: Buy a wooden stick that is approximately 9.84 x 0.31 inches. The stick can be a bit shorter, as you will need to trim it to fit your doll precisely. These sticks can be easily found on Amazon.
-
Trim the Stick: Cut the wooden stick so that it fits snugly from the crotch of your doll to the top of the head. Remember, it's better to start longer and gradually trim down as needed.
-
Insert the Stick: Carefully insert the trimmed stick into your doll, ensuring it runs from the crotch to the top of the doll's head. This will provide the core support and prevent the head from flopping.
-
Prepare the Wire: Wrap a wire around the wooden stick first, making sure it's tightly coiled and secure. This prepares the wire for arm attachment.
-
Attach the Wire: Insert both ends of the wire into the doll's arms, ensuring the wire's length matches the arm length. This offers additional stability and helps keep the arms in place.
-
Stuff the Doll Firmly: When stuffing your doll, do so very firmly. This ensures the wooden stick and wires stay securely in place.
-
Add Extra Stuffing when Sewing the Head: As you're sewing the head to the neck, add a bit more stuffing before finishing your stitches. This helps maintain the head's firmness and upright position.
Happy crafting and keep spreading the joy of creativity!