
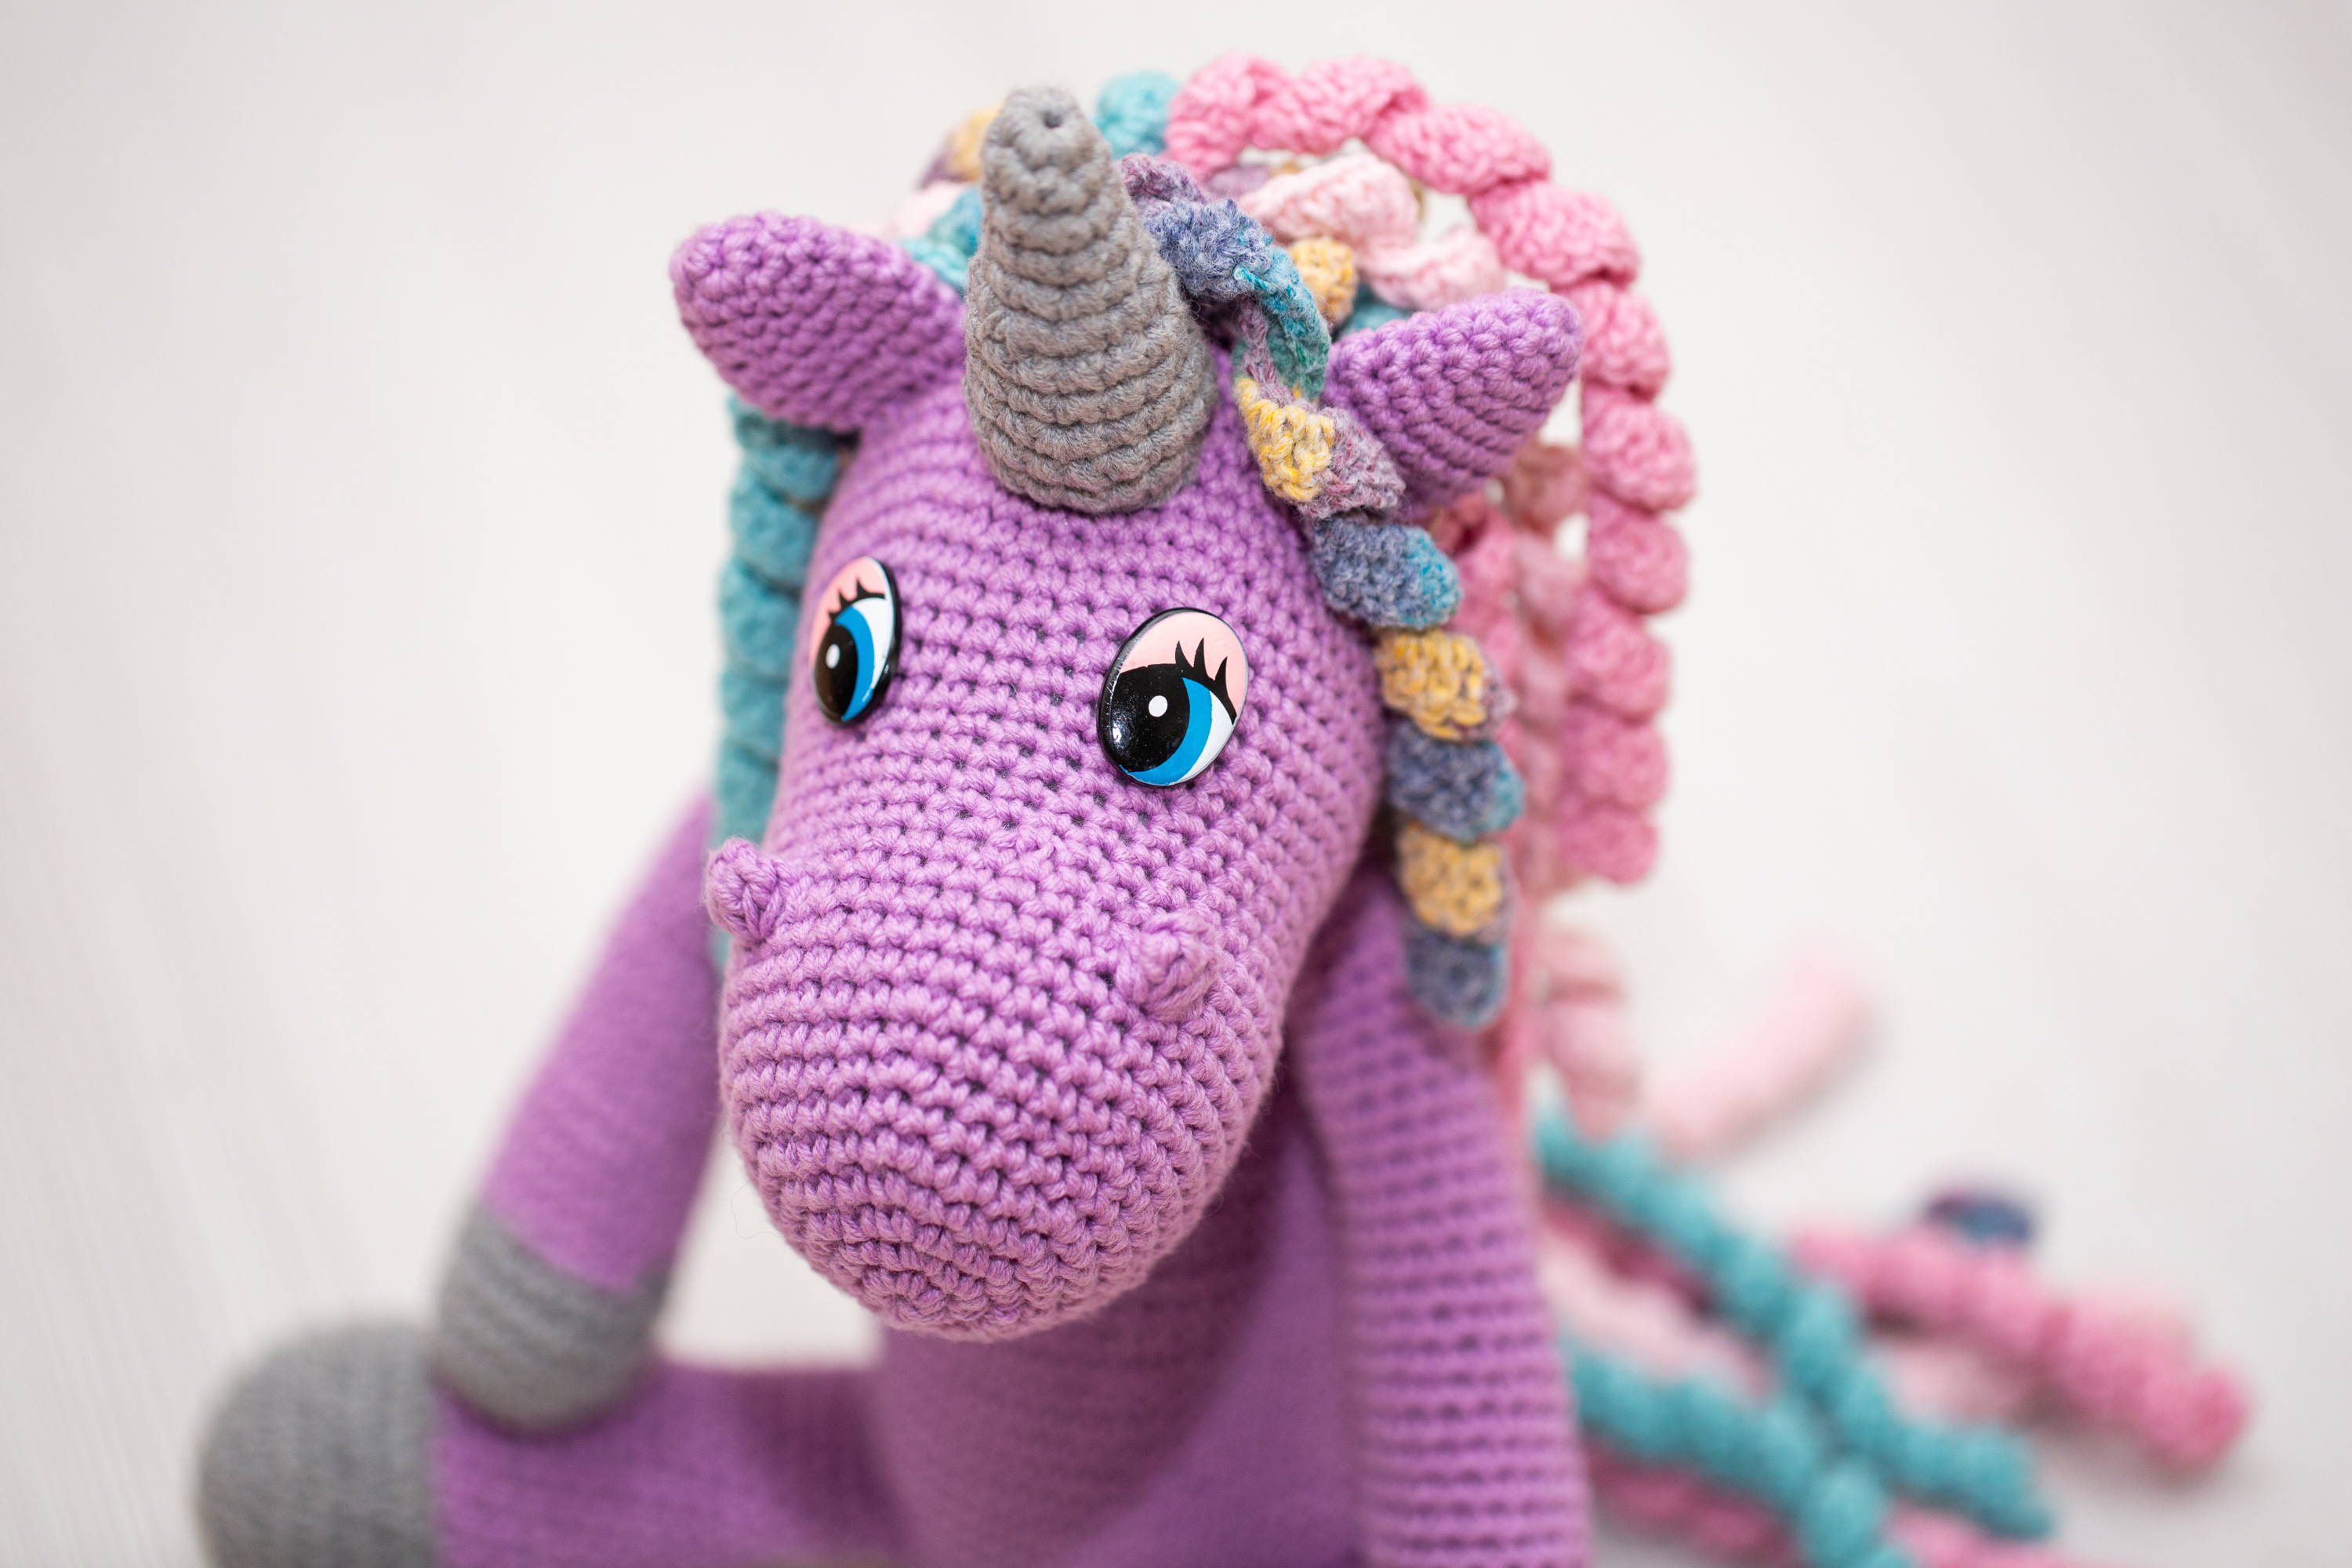
How to Crochet Stuffed Animals - Seven Tips for Cute Amigurumi
The popularity of crocheted stuffed animals has reached a recent surge in popularity along with the Japanese term "Amigurumi" - which means "stuffed toy". There are many styles of crochet patterns that make adorable stuffed animals and toys, but the principles for how to crochet stuffed animals are always the same. If you want to create adorable toys that get lots of love rather than stuffed in the attic, following a few basic steps will help make them over-the-top cute!
1. Start with a magic circle
There are two methods for starting a stuffed project. The first is to work your first round of stitches in a circle of joined chain stitches. While this works fine for some projects, it can leave a hole in the center of the work. When doing stuffed projects, this hole then needs to be sewn up otherwise the stuffing will come through. When learning how to crochet stuffed animals, the solution is to start with a magic circle. With this method, you work your first round of stitches over the starting tail and loop together; then pull on the starting tail. If done correctly, the circle will close leaving no hole in the center.
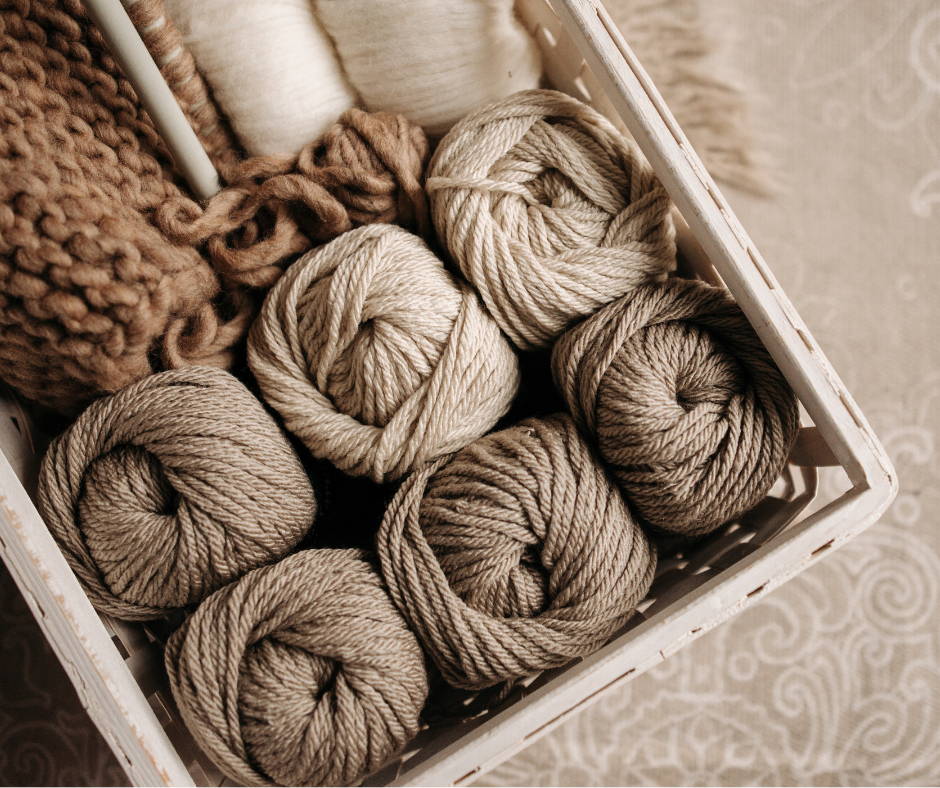
2. Use a small hook size and tight tension
Holding consistent tension is always important, but in the case of amigurumi, you'll want that tension to be fairly tight. You'll also want to use a smaller hook size and lighter yarn. This combination will allow the stitches to be closer together, preventing unsightly holes and gaps. When stitching more tightly, you may find you have to work a little harder to get the hook through the work, but the end result - a stuffed friend with no holes - is totally worth the extra effort.
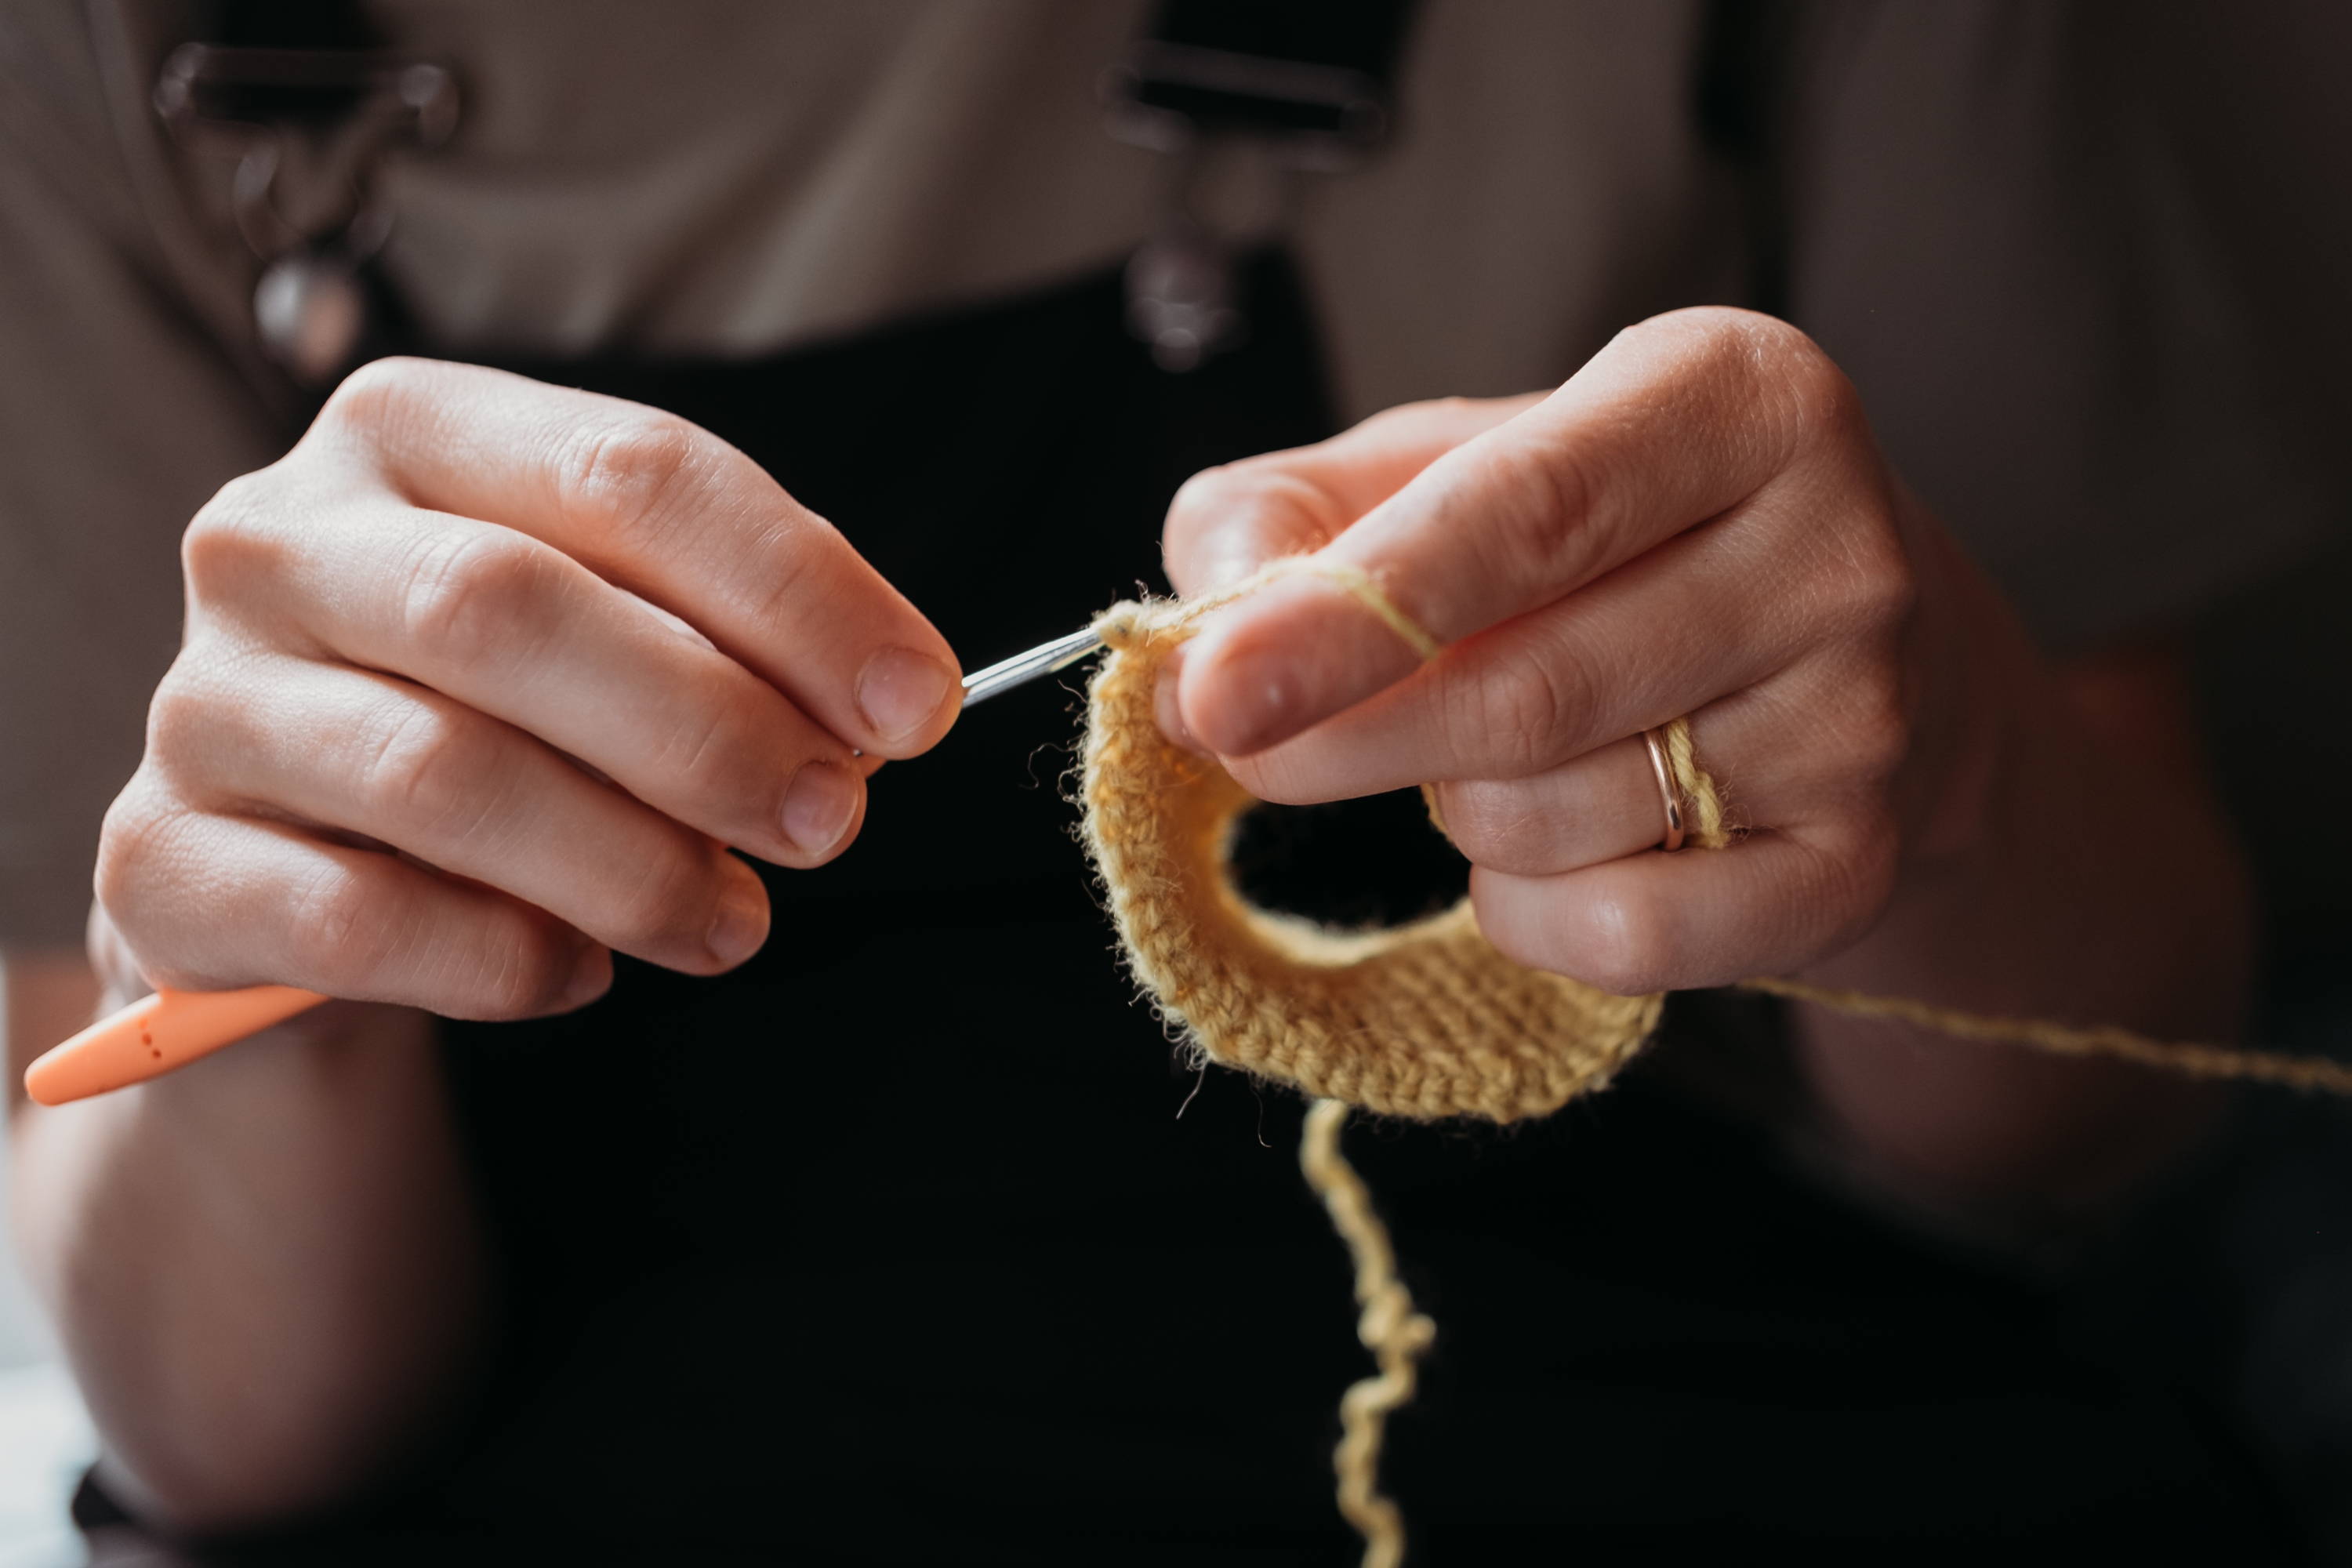
3. Work continuous rounds
Work continuous rounds and stitch markers (NO JOINING). As I was learning how to crochet stuffed animals, this was one of the most helpful tips for me. Use a stitch marker to keep track of your beginning stitch for each row. Then when you come back around to that beginning stitch, don't join it. Just keep working as if you were in the same round. Be sure to move your stitch marker up as you work so that you don't get off track. This prevents a noticeable line from forming as happens when you use the joining method.
4. Use pantyhose to keep stuffing from sticking out
Even the most carefully and tightly stitched friend will still have tiny gaps here and there. After all, this is a project that's meant to be handled a lot and cuddled. Use ladies' pantyhose to keep the stuffing from poking out through the holes. Any section of the hose will do. Just make sure that both ends are closed up. If both ends of the hose are open, start by folding over one end and whip stitching it closed. Then work it down into the area to be stuffed and fill the inside. When you have the desired amount of filling, fold over the hose flat, whip stitch it closed and make sure that it lays flat inside your project. It is recommended that you fold over and whip stitch rather than use knots in order to prevent bulky lumps.
5. Stuff evenly and loosely
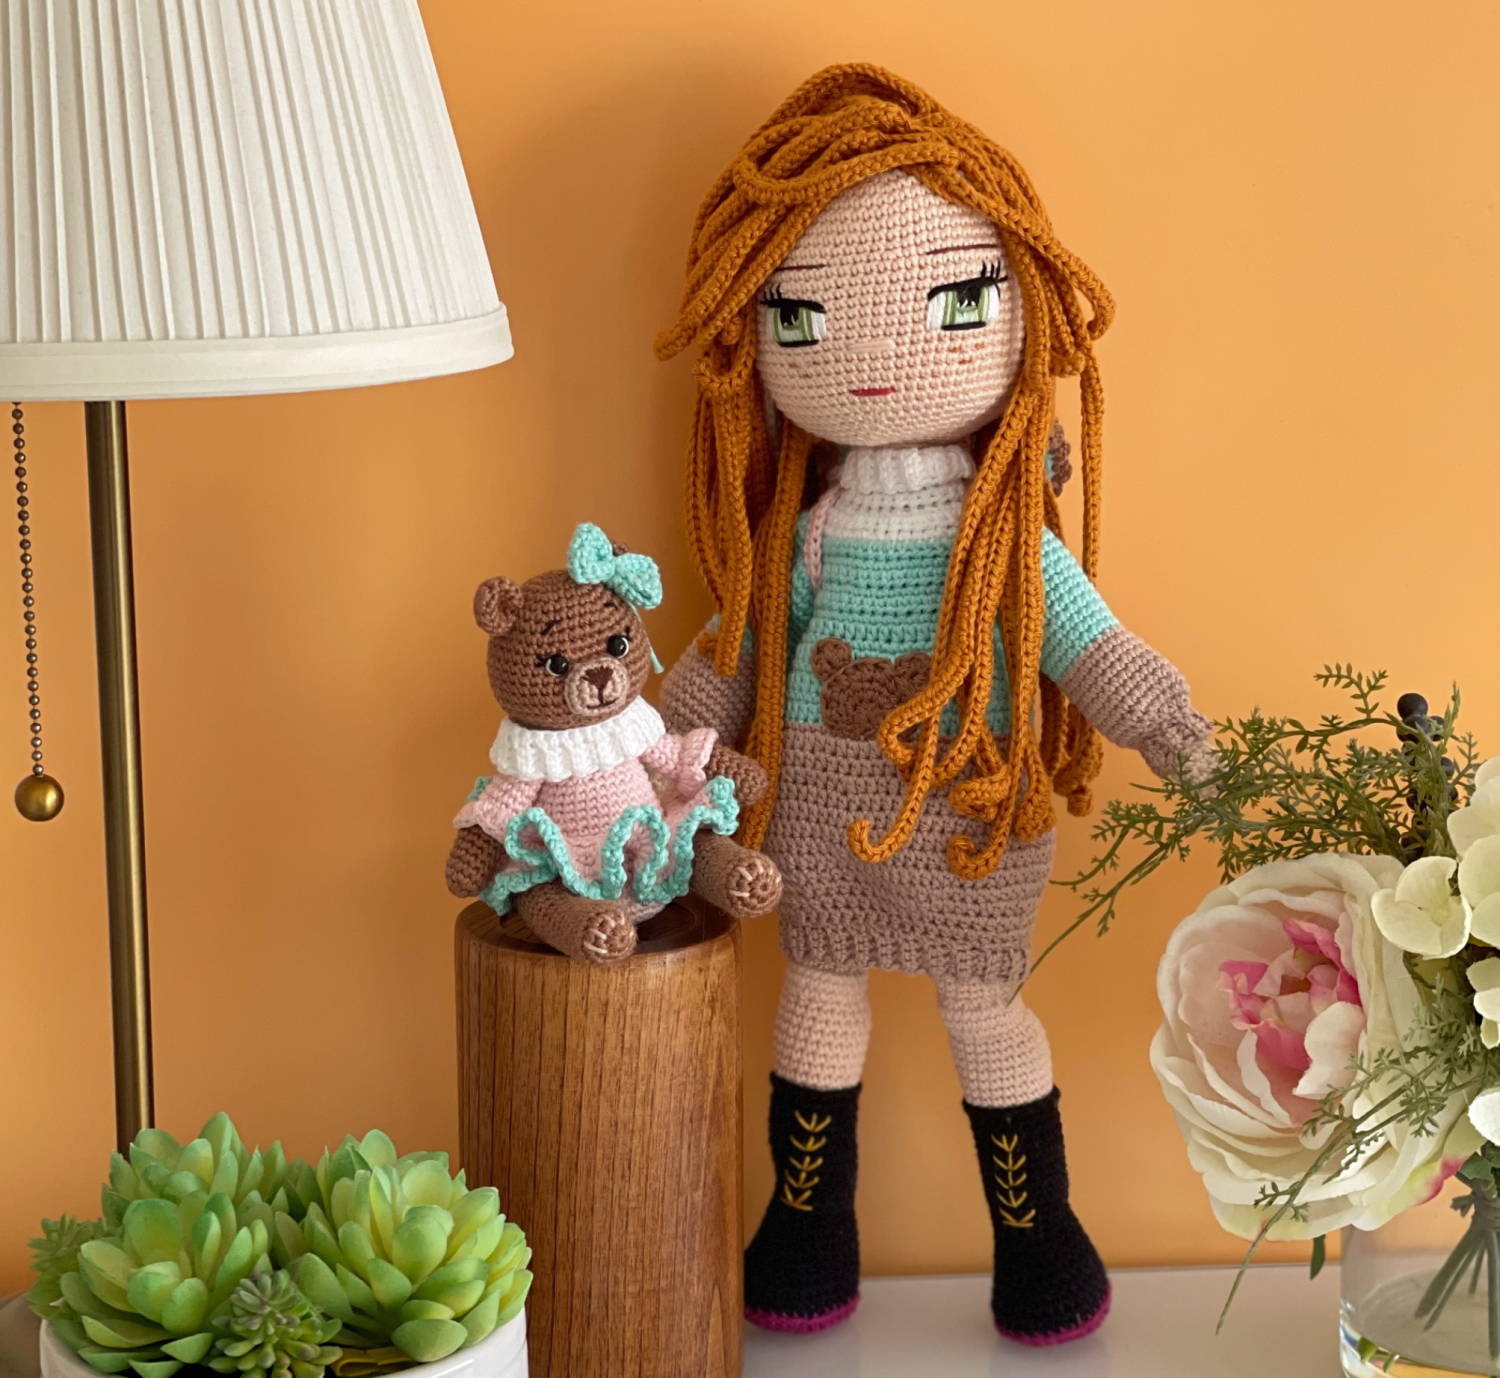
It's tempting to pack the stuffing in very tightly when stuffing, but this will lead to a very stiff stuffed animal. That may be fine if you expect your toy to stand upright, like these stuffed dolls, but use caution that arms and legs stay mobile and that the hips bend in a natural way if you want your toy to sit. Avoid lumps by using knitting needles - or some long straight object - to work stuffing into smaller areas.
6. Leave long tails for sewing up
When you're finishing off a body part for your stuffed animal, be sure to leave long ending tails. These yarn tails will be used later for sewing together the arms, legs and head with matching thread that is already attached to the work.
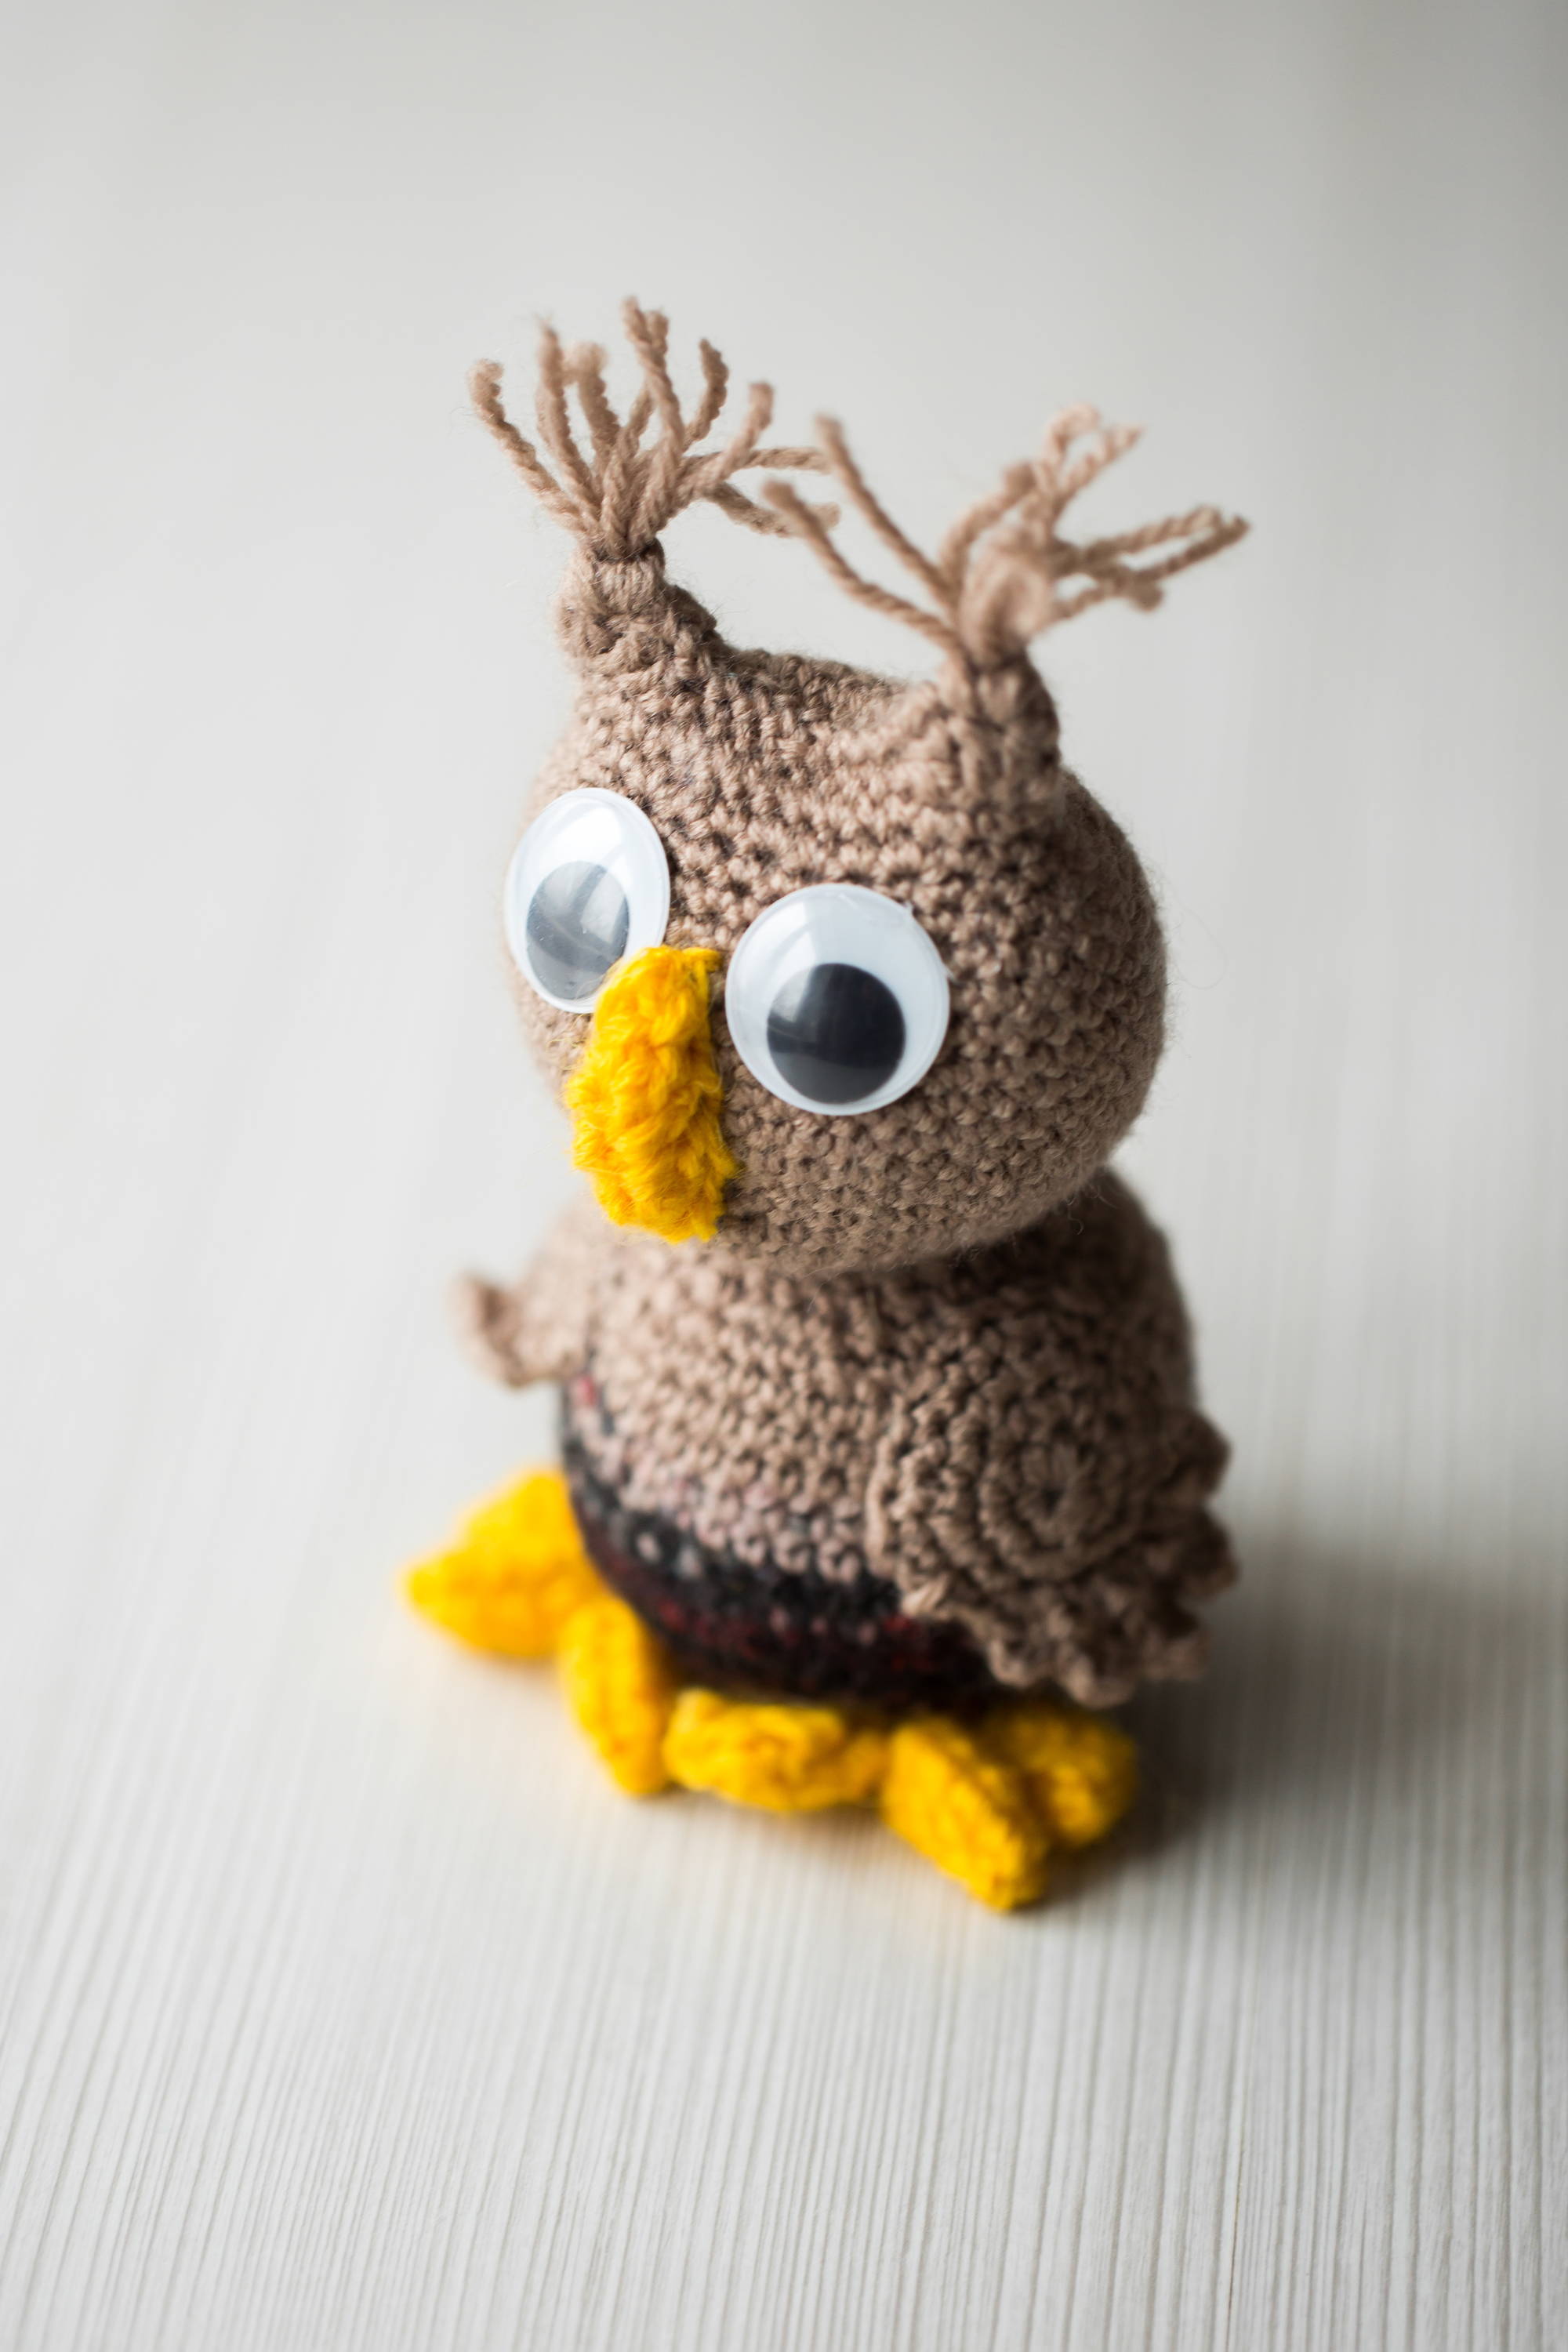
7. Use your stitching lines as a guide
Just as their living counterparts, stuffed animals and dolls have body parts. It should go without saying that you'll want those body parts to be symmetrical. In order to ensure that one eye doesn't end up higher than another, use your stitch lines as a placement and stitching guide. Especially when using single crochet, it's easy to count the crochet stitches and make sure you line everything up.
With the basics of crochet, nearly anyone can learn how to crochet stuffed animals. But if you want it to get used and adored, it needs to be as cute as you can make them. These seven tips are the basics for making any stuffed project successful. You'll be able to create adorable keepsakes that kids want to cuddle and keep for years to come.