
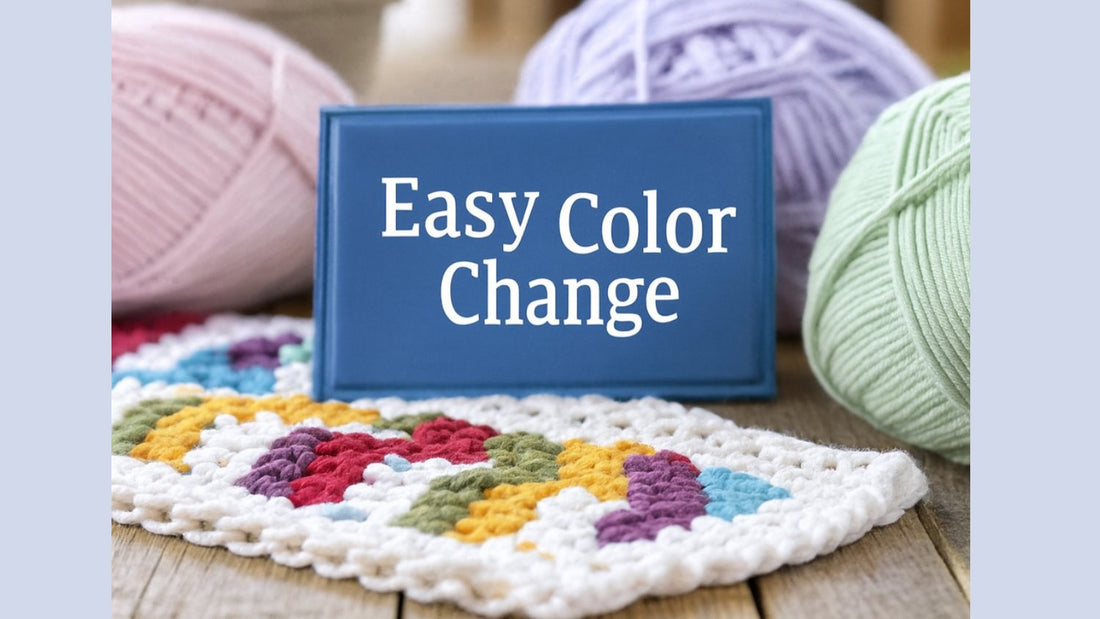
Adding a new splash of color is where a crochet project truly comes to life. Learning how to change colors in crochet is easier than you think, and the most common method involves working the final "yarn over, pull through" of your last stitch with the new color. This simple trick is perfect for beginners and creates crisp, beautiful stripes every time.
Embracing the Art of the Color Change
Learning how to change colors opens up a whole new world of creativity, turning simple patterns into vibrant works of art. It’s the skill that lets you craft cheerful striped blankets, adorable amigurumi with unique details, and garments that truly reflect your personal style.
While it might feel a bit tricky at first, think of it as a mindful moment in your crafting, a chance to pause, breathe, and introduce new energy into your work. We’ll walk through the most popular methods, helping you build confidence stitch by stitch. With a little practice, you'll see that adding color is a joyful, rewarding part of the crochet journey.
Your Roadmap to Colorful Creations
To get started, it helps to understand the main approaches. Each technique has its own special purpose, and choosing the right one depends entirely on the project you have in mind. Don’t worry about mastering them all at once; just pick the one that feels right for your current creation and have fun with it.
For a deeper dive into pairing shades, exploring different palettes can truly elevate your crochet with clever color combinations.
Three Core Methods for Changing Colors
Here’s a quick overview of the most common techniques. This little cheat sheet can help you choose the right one for your project at a glance.
|
Technique Name |
Best For |
Difficulty Level |
|---|---|---|
|
The Simple Cut and Tie |
Beginners, distinct stripes, amigurumi |
Easy |
|
The Seamless Mid-Stitch Change |
Garments, blankets, granny squares |
Intermediate |
|
Carrying Yarn (Tapestry Crochet) |
Detailed colorwork, graphics, frequent changes |
Advanced |
Each of these methods has a place in a crocheter's toolkit. Once you get the hang of them, you'll know exactly which one to reach for to get the beautiful results you want.
Remember, every expert was once a beginner. The goal isn't perfection on the first try, but the simple joy of learning something new and watching your project transform one colorful stitch at a time. Celebrate each small step forward!
Starting with the Cut and Tie Method
This method is the perfect first stop on your journey into colorwork and a great way to build your confidence as you learn how to change colors in crochet. The name says it all: you simply finish a stitch, cut the old yarn, and tie on the new one. It's wonderfully straightforward.
This approach is perfect for projects that need clean, bold stripes. Think of a classic striped scarf, a colorful blanket, or even the distinct parts of an amigurumi friend. It creates a very clear, crisp line between your colors, which is often exactly the look you’re going for.
The Best Time to Make the Switch
The secret to a neat transition is all in the timing. You’ll want to crochet right up to the very last stitch you intend to make with your current color (we'll call it Color A).
Go ahead and complete that final stitch just like you normally would. For example, if you're using single crochet, you'll insert your hook, yarn over, and pull through both loops on the hook.
Once that stitch is totally finished, you can snip the yarn. Just be sure to leave a tail of about 4-6 inches. You'll need this tail later to securely weave in your ends. Mastering this moment is a key part of understanding the fundamental basic crochet stitches and how they build the fabric of your project.
Tying on Your New Color Securely
Now for the fun part: bringing in your new color! Take your new yarn (Color B) and tie it to the tail of Color A using a secure knot, like a simple square knot.
Try to get the knot as close to your fabric as you can without making the stitches pucker. Pull it snug, but don't yank it so tight that it warps your beautiful work.
Actionable Tip: Once your knot is secure, you can treat the two tails (one from each color) as one. As you start your next row with Color B, just crochet right over these tails for a few stitches. It's a great way to hide and secure them at the same time!
By mastering this simple technique, you're not just changing a color; you're opening a door to countless creative possibilities. Take a moment to celebrate this small win—it's a huge and wonderful step in your crafting journey.
Creating Seamless Mid-Stitch Transitions
If you're ready to really elevate your colorwork, the seamless mid-stitch transition is where the magic happens. This is the secret behind those beautifully smooth, professional-looking projects where one color just melts into the next. It’s a total game-changer for items like blankets and sweaters, as it gets rid of that noticeable ‘jog’ or step that can appear between color rounds.
The whole idea is wonderfully simple. You introduce the new color during the final step of the stitch right before the new color is supposed to start. This little bit of foresight positions the new yarn perfectly on your hook, ready to go for the very next stitch. The final pull-through is the critical moment. It sets you up for a flawless transition into the new color.
Mastering the Mid-Stitch Change
The exact timing of this change depends on which stitch you're working. Let’s walk through the most common ones. Just keep the golden rule in mind: work your stitch with the old color (Color A) right up until the very last pull-through. That’s when you’ll grab your new color (Color B) to finish it off.
Here’s how it looks in action for each stitch:
For a Single Crochet (sc): Insert your hook, yarn over with Color A, and pull up a loop. You’ll have two loops of Color A on your hook. Now, grab Color B, yarn over, and pull it through both loops.
For a Half Double Crochet (hdc): Yarn over with Color A and insert your hook. Yarn over with Color A again and pull up a loop, leaving you with three loops of Color A on your hook. Now, yarn over with Color B and pull it through all three loops.
For a Double Crochet (dc): Yarn over with Color A, insert your hook, yarn over, and pull up a loop. Yarn over with Color A one more time and pull through just the first two loops. Now, yarn over with Color B and pull through the remaining two loops.
This is what experienced crocheters call a 'seamless color change,' and it’s a must for more polished projects because it makes those color breaks nearly invisible. By completing the last yarn-over with the new color, you're essentially changing colors at the very top of the stitch. You can discover more insights about advanced crochet techniques from makers who have this method down to a science.
A Gentle Reminder: Don't worry if this feels a bit clumsy at first! Your hands are learning a new rhythm. My advice is to practice on a small swatch. Before you know it, the motion will become second nature, completely transforming your projects with clean, beautiful transitions.
Mastering Colorwork by Carrying Yarn
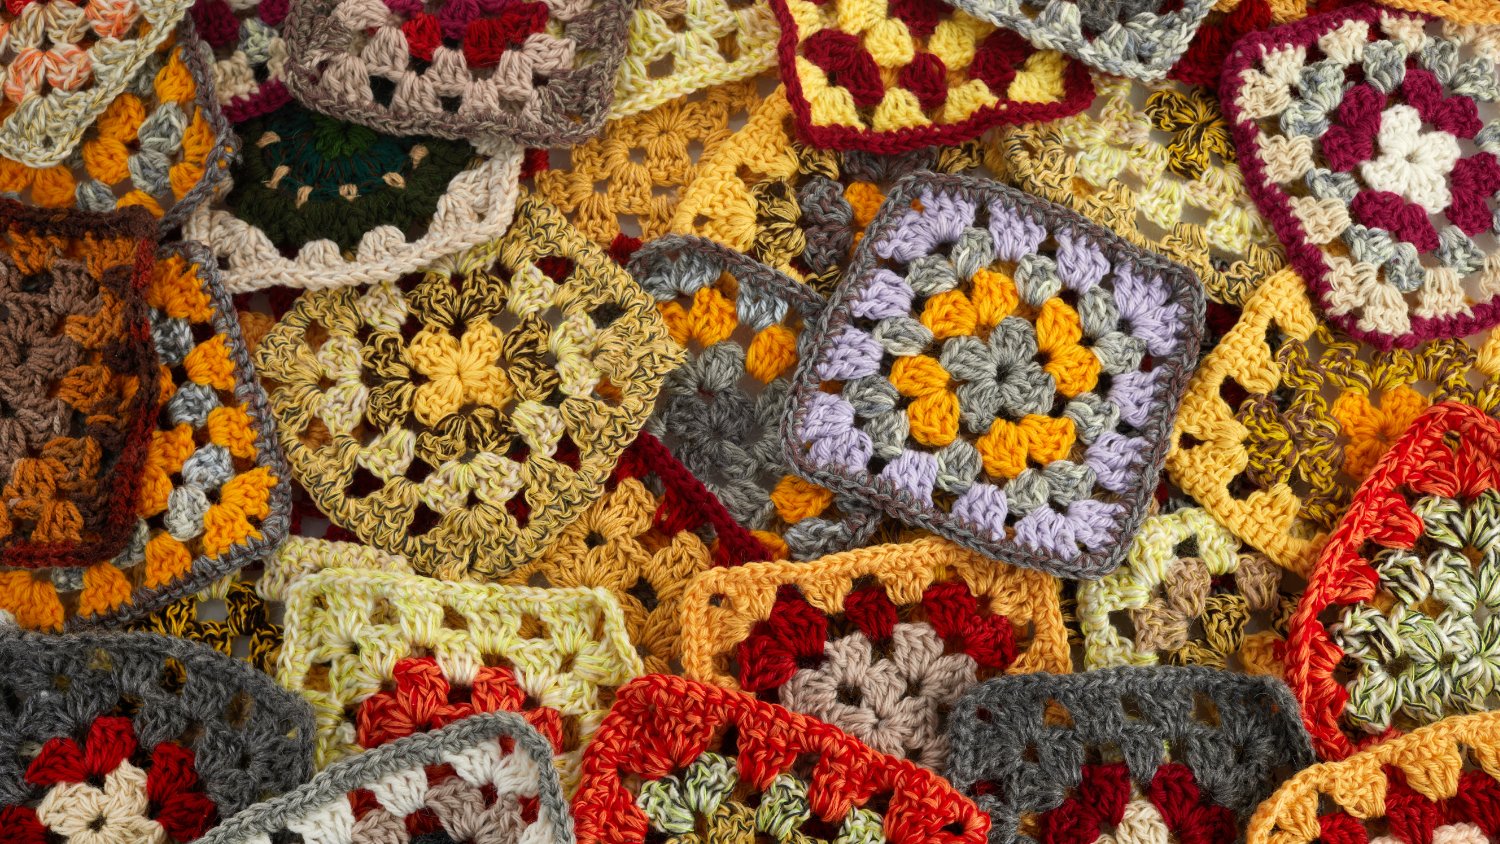
When you're ready to move beyond simple stripes and really "paint" with your yarn, carrying your yarn (also known as tapestry crochet) is the technique you've been dreaming of. It’s a beautiful method that lets you work with several colors all in the same row. Think intricate patterns, cool geometric shapes, even lettering, all without constantly snipping and rejoining your yarn.
It’s a more advanced way to handle how to change colors in crochet, but the payoff is huge.
The big idea here is simple: instead of dropping the color you're not using, you just carry it along inside your stitches. You'll crochet right over the unused strand until you need it again, creating a wonderfully dense and vibrant fabric. This is the secret sauce for making pieces that look less like crochet and more like woven tapestries.
This technique is a go-to for detailed patterns. The key is carrying the unused yarn along the wrong side of your work, crocheting over it to hide it and keep your tension just right.
Keeping Your Carried Yarn Hidden
One of the first hurdles for newcomers is that pesky carried yarn peeking through the front of the work. This is especially true when you're using high-contrast colors, like black and white. Don't worry, there's a trick to it. The secret is all in your tension and how you place your hook.
When you make your stitches, get into the habit of holding the carried yarn toward the back of your project, that's the wrong side. Just keeping it tucked back there makes a world of difference. On top of that, a firm, even tension helps create a solid fabric that completely conceals the color hiding inside.
Maintaining Consistent Tension
Tension is everything in tapestry crochet. Too loose, and the carried yarn will show through. Too tight, and your whole piece will pucker up and refuse to lay flat. You're aiming for that sweet spot, a relaxed but consistent pull on both your working yarn and the one you're carrying.
Here are a couple of actionable tips:
Always Make a Swatch: Before you dive into a big project, make a small practice square. This is your playground to find a comfortable rhythm and see exactly how your tension is affecting the fabric.
Give a Gentle Tug: Every few stitches, give the color you're carrying a very gentle pull. This makes sure it's laying flat inside your stitches without creating weird loops or cinching the fabric too tightly.
This technique truly is an art form. It might take a little practice to get your hands accustomed to managing two strands of yarn, but be patient with yourself. Each stitch is a step toward creating something uniquely you, a piece filled with intention and creativity.
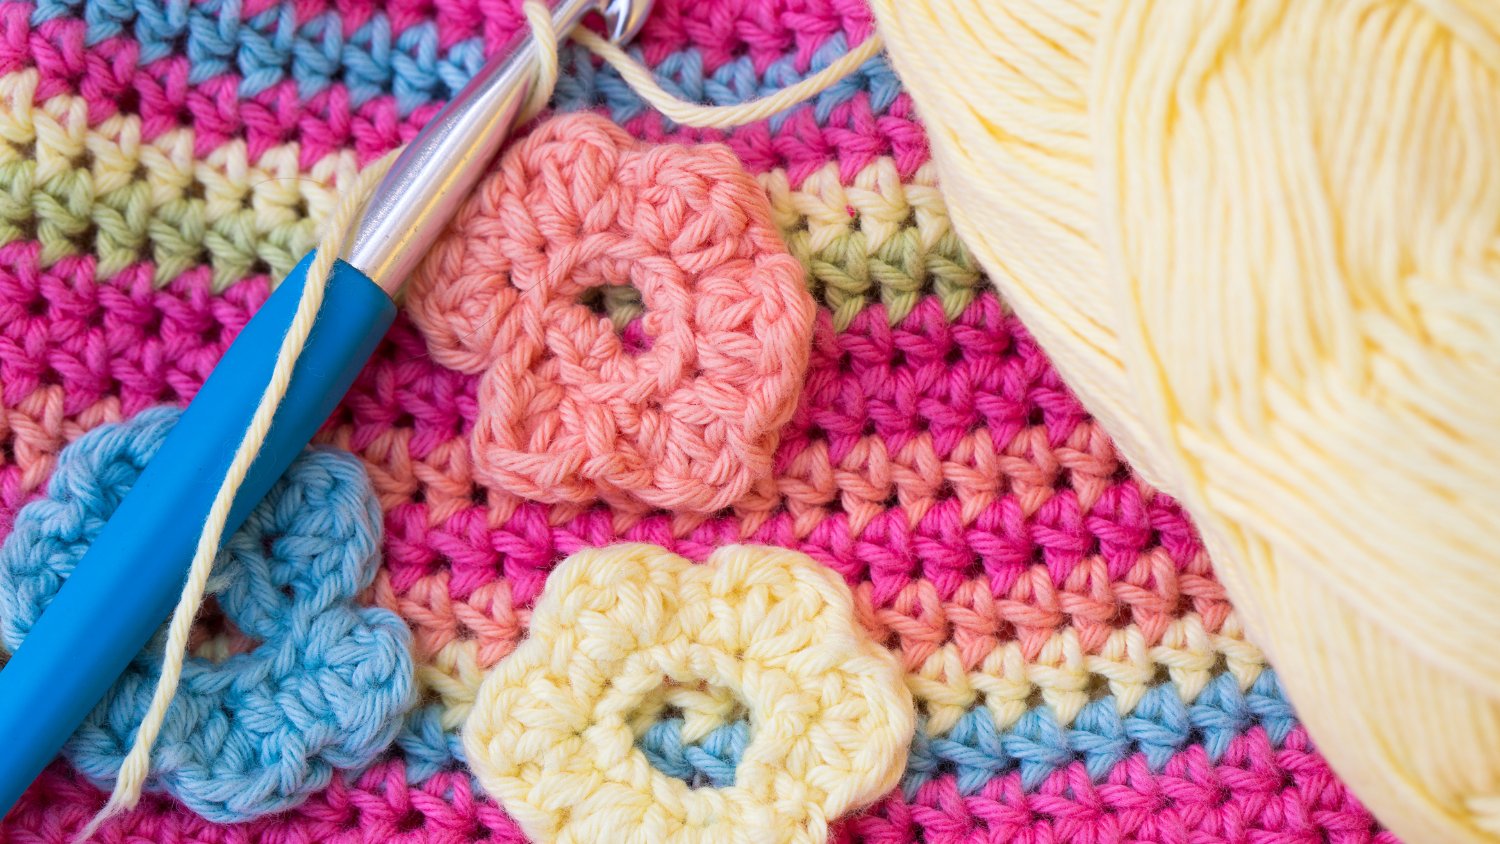
Tips for Tidy Ends and Managing Yarn Tails
Playing with color is one of the most exciting parts of crochet, but it does leave you with one little challenge: yarn tails. Lots of them. But dealing with those ends doesn't have to be a dreaded final step.
With a few smart habits, you can manage those tails as you go, making the whole process feel less like a chore and more like a satisfying part of your craft. A clean finish is what really elevates a handmade project from good to great.
The Art of Weaving In Ends
Weaving in your ends properly is essential if you want your crochet to last. A poorly secured tail can wriggle its way out after a few washes, and suddenly your hard work starts to unravel. The goal here is to make that tail a permanent, invisible part of the fabric.
Grab a tapestry needle, it's your best tool for this job. The secret is to avoid weaving in a simple straight line. Instead, weave the tail through several stitches going one way, then turn back and weave through a different path of loops. This back-and-forth motion creates friction and locks it in place.
Actionable Tip: For extra security, try splitting the plies of your yarn tail with the needle on your final pass. When you weave through the actual fibers of the yarn itself, it creates an anchor that's nearly impossible to undo.
Crocheting Over Your Tails
Want a huge time-saver? Learn to crochet right over your tails. This trick works like a charm when you’re changing colors at the start of a row or round, letting you hide the ends as you build your next stitches.
Here's the simple breakdown:
- Position Your Tails: After you've made the color change, just lay the tails from both the old and new yarn along the top of the previous row's stitches.
- Stitch Over Them: As you work your new row, insert your hook into the stitch and under the tails you're holding in place. This neatly encases the ends inside your new stitches.
- Trim the Excess: Once you've crocheted over the tails for about five or six stitches, they’re secure. You can confidently snip off the excess close to your work and move on.
Making this a regular habit will dramatically cut down on your finishing time. No more staring at a project covered in dozens of ends to weave in!
Preventing Tangles with Multiple Colors
Working with several colors at once, like in tapestry crochet, can quickly turn into a tangled mess if you're not careful. A little organization goes a long way.
Using yarn bobbins, or even just wrapping yarn around clothespins, can be a lifesaver. By winding smaller, manageable amounts of each color onto a bobbin, you let them hang from your project and untwist easily as needed.
Another easy trick is to pay attention to how you turn your work. If you always turn it the same way (say, clockwise), your yarn strands will twist together. Try alternating your turns: once clockwise, then once counter-clockwise. This simple change helps the strands untwist themselves naturally.
Choosing the Right Yarn for Your Project
The yarn you pick can completely change the way your color transitions look and feel. From the fiber and weight right down to the twist of the yarn, every detail plays a part in the final outcome. Taking a moment to choose wisely here is what makes your beautiful colorwork truly pop.
Every project has its own needs, and matching the right yarn to your creation is a huge part of the fun. So, what are you making? A sturdy little toy that needs to hold its shape perfectly, or a drapey shawl that should flow beautifully?
Matching Fiber to Function
The material of your yarn is just as important as the color. Every fiber brings its own unique texture, durability, and feel to the table, which makes some types a better fit for certain projects.
Here are a few popular options:
- Mercerized cotton (fingering): Smooth, durable, and has crisp stitch definition; holds shape, ideal for amigurumi/detail work.
- Cotton blends (DK/worsted): Breathable and easy to care for, good for summer garments, dishcloths, and homeware.
- Acrylic (mostly worsted): Budget-friendly and machine-washable, common for blankets and everyday projects (note potential pilling/static).
- Wool/wool blends: Warm and elastic with great stitch recovery, perfect for hats and sweaters, but always check care instructions and skin sensitivity.
- Chenille/faux-fur: Creates a plush texture for blankets/pillows; not recommended for beginner amigurumi due to low stitch visibility.
For a deeper dive, you can check out our full guide on choosing the perfect yarn for your crochet project.
Beyond Fiber and Weight
Once you have the practical stuff sorted, it's time for the fun part: the color palette! The colors you choose will set the entire mood for your project, evoking specific feelings and telling a story.
The right yarn does more than just create fabric; it breathes life and intention into your work. Choosing a fiber that feels good in your hands and colors that make you happy turns the crafting process into a truly joyful and healing experience.
Common Color Change Snags & Fixes
Even when you follow the steps perfectly, a few little hiccups can happen when you're learning to change colors in crochet. It's totally normal! Let's walk through a couple of the most common issues and how to fix them so you can keep crocheting with confidence.
How do I stop gaps from forming when I switch colors?
Ah, the dreaded gap. This is all about tension. The moment you make that first stitch with your new color, give the tail of the old yarn and your new working yarn a gentle tug. This simple action snugs everything up beautifully. For extra peace of mind, try crocheting over both tails for a few stitches to secure the join and close up any little holes.
Why does my carried yarn keep peeking through?
This is a classic problem, especially when working with high-contrast colors. It usually comes down to two things: loose tension or where you're holding the carried yarn. First, try dropping down a hook size. A slightly smaller hook will create a denser fabric, making it much harder for that other color to show through. It also helps to be mindful of keeping the carried yarn consistently toward the back of your work so it doesn’t peek through to the front.
At Crochetree, we believe that every stitch is a moment of joy and connection. By learning how to change colors in crochet, you've unlocked a new way to express your creativity. Start your next creative journey with us today!


![The Ultimate Beginner's Guide to Crochet [2026]](http://crochetree.com/cdn/shop/articles/feat-ultimate-beginners-guide-to-crochet_eae81cec-84d0-455d-b190-08cd22d826c4.jpg?v=1777713815&width=533)


