
Ever find yourself staring at a project that's supposed to be a perfect rectangle, but somehow it’s ended up wavy, uneven, or shaped like a trapezoid? We’ve all been there, and you're not alone in this challenge! The secret to fixing this isn't some magic trick, but a solid grasp of three core skills: consistent stitch counting, managing your turning chain, and maintaining even tension.
Mastering these fundamentals is what separates wobbly edges from those crisp, professional-looking ones we all admire. You absolutely can achieve this, and once you do, you'll feel an incredible boost in your crochet confidence.
Why Perfectly Straight Edges Matter
Have you ever poured hours into a project, only to realize the sides are wonky and slanted? It's one of the most common frustrations for crocheters, but it's completely fixable. Learning how to crochet straight edges isn't just about making things look pretty; it's about building a strong foundation that will elevate your entire craft.
Clean, straight edges are absolutely crucial for a few key reasons:
A Polished, Professional Finish: A project with neat, tidy sides just looks better. It’s the difference between "homemade" and "handmade," and it shows the care you've put into your work.
Easier Seaming: When you're creating garments, amigurumi parts, bags, or granny square blankets from multiple pieces, straight edges are a must. They ensure everything lines up perfectly, so you don't get frustrating puckers or gaps.
Boosting Your Confidence: Once you master this skill, you’ll feel ready to tackle more complex projects, knowing your foundational work is solid as a rock. This is a huge milestone in your crochet journey!
Think of this guide as your personal crochet coach. We'll introduce the essential knowledge you need before we dive deep into each technique. Sometimes, something as small as where you place the very first stitch of a new row can change everything.
Don’t get discouraged if your edges aren't perfect yet! This is a skill every single crocheter has to work on. With a little practice and attention to detail, you’ll be creating flawlessly straight edges in no time. You've got this!
One of the biggest hurdles has always been juggling stitch counts and tension. In fact, within crafting communities, it's estimated that around 65% of new crocheters struggle with straight edges, mostly because of inconsistent tension and losing track of their stitches.
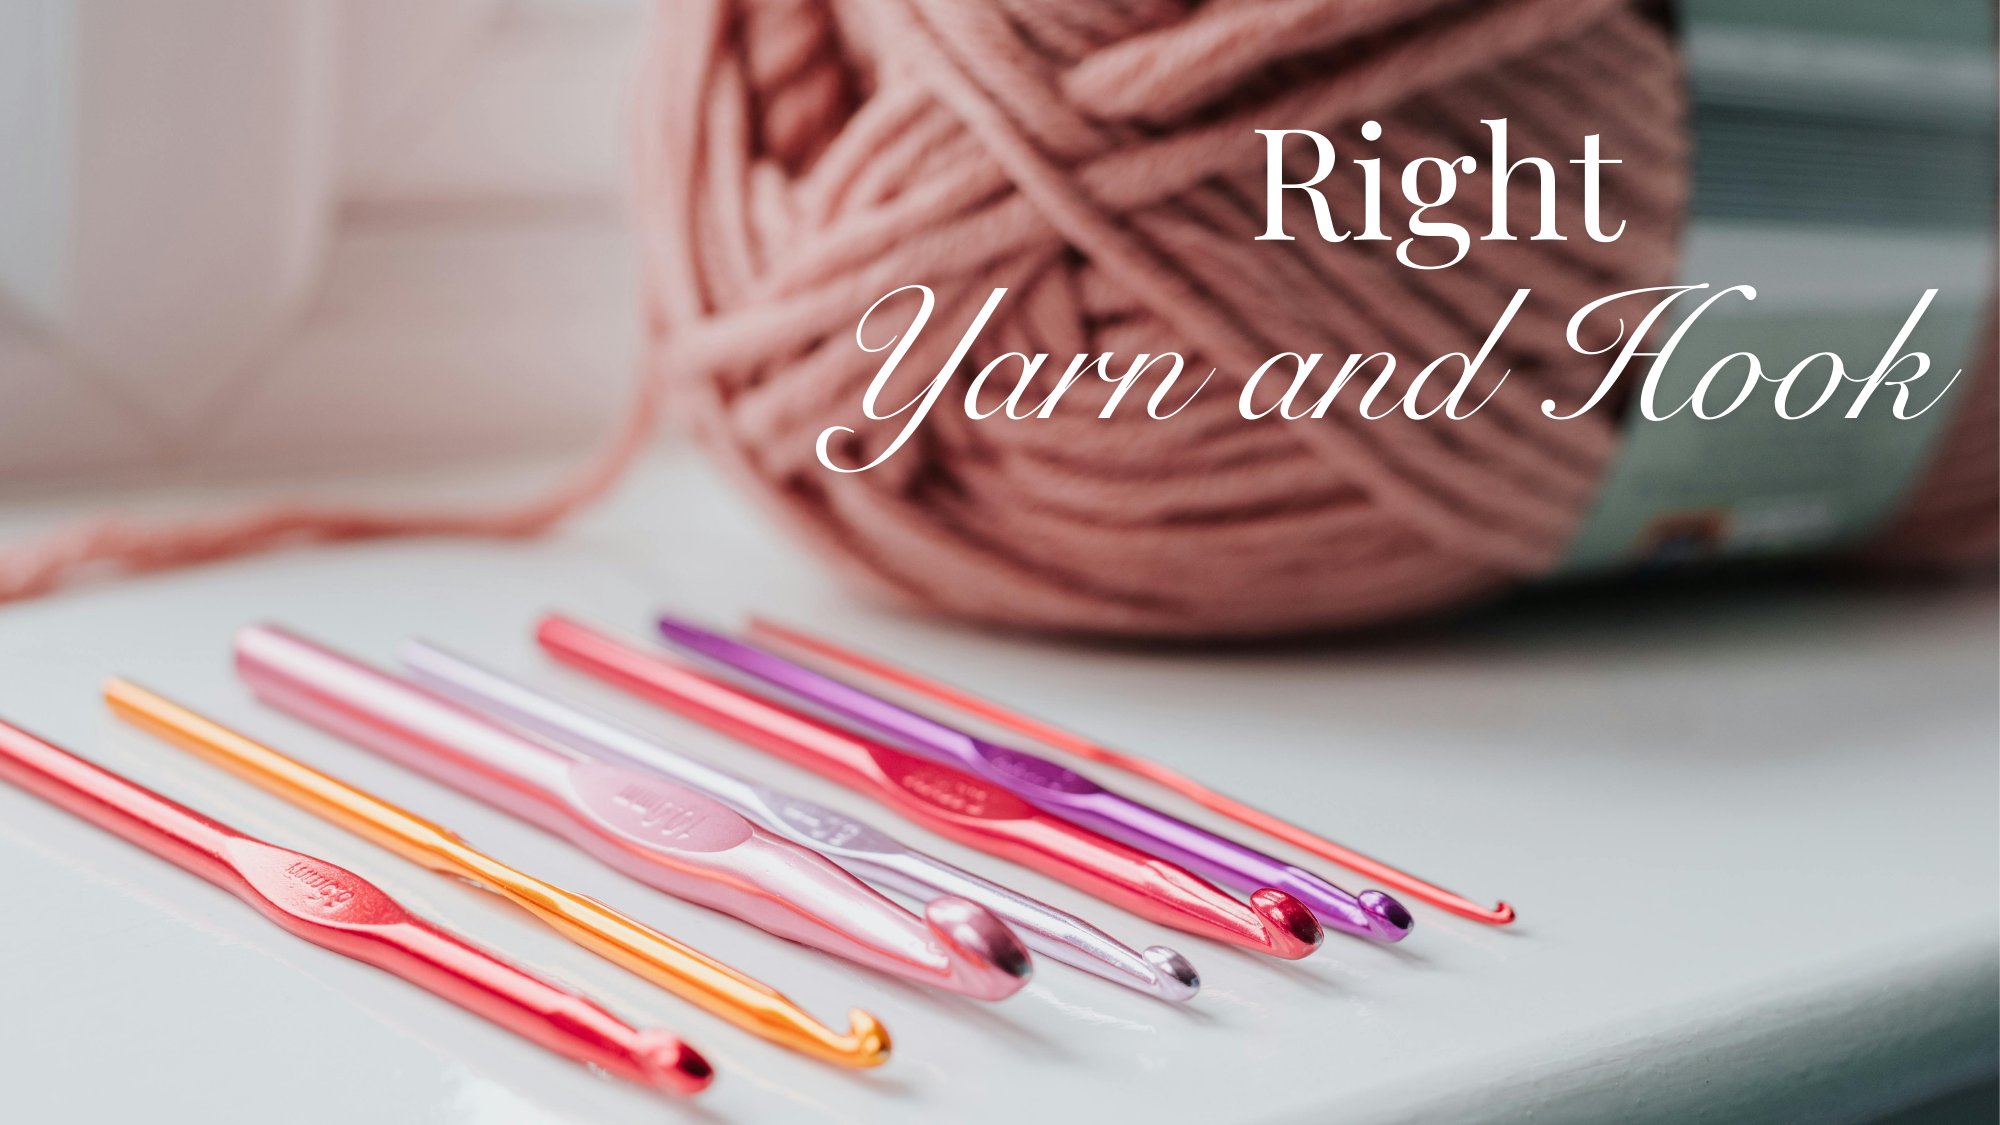
A fantastic way to practice is with a smooth yarn, like a 100% cotton yarn. Its amazing stitch definition makes it much easier to see exactly where your hook needs to go, helping you learn faster.
Mastering the Turning Chain and Edge Stitches
The turning chain is the humble workhorse of every new row, yet it’s often the secret culprit behind wonky edges. I like to think of it as the first step on a ladder: if that first step is wobbly or the wrong height, the rest of your climb will feel off-kilter. This is exactly where many crocheters stumble, leading to frustrating gaps, bulges, or slanted sides.
But here’s the good news: once you get the hang of it, the turning chain becomes your best friend for achieving those crisp, perfectly straight edges you’re aiming for. It just takes a few small adjustments and a bit of practice to get it right.
The Great Debate: Does the Turning Chain Count as a Stitch?
This is one of the most common questions in all of crochet, and the answer is… it depends! There isn't one single rule, but understanding your options is the key to choosing the best approach for your project.
When it counts as a stitch: Often, patterns for taller stitches like double crochet will have the turning chain (e.g., a chain of 3) replace the very first stitch of the row. The problem is, this method often creates a noticeable gap, which is a classic cause of uneven, holey-looking edges.
When it doesn't count as a stitch: This is a much more popular and effective method. Here, you use the turning chain only to get your yarn to the correct height for the new row. Then, you work your first real stitch into the very first stitch from the row below. This technique creates a much fuller, more solid edge.
For a cleaner, more professional look, I almost always recommend the second method. By not counting the chain as a stitch, you build a sturdier edge that looks intentional and beautifully finished.
Alternative Techniques for Flawless Edges
Believe it or not, traditional turning chains aren't your only option. If you’re tired of the gaps they create, it’s time to explore a game-changing alternative: the chainless starting stitch.
This technique creates a "false" stitch that perfectly mimics the height and look of a regular stitch without using any chains at all. For a double crochet, you’d pull up your loop, twist the hook, and work a stitch right back into itself. It feels a little awkward at first, I promise, but the gorgeous, solid edge it produces is well worth the practice!
Actionable Tip: No matter which method you use, always work your last stitch into the top of the last actual stitch from the row below, not into the turning chain. This simple habit is one of the most powerful things you can do to keep your work from drifting or developing that dreaded slanted look over time.
This focus on edge integrity is nothing new. The quest for perfect edges dates back to 19th-century patterns. By the 20th century, instructional books noted that up to 80% of beginners struggled with uneven sides. Today, online communities confirm that nearly 90% of advanced crocheters consider solid edge stitches a core skill.
How Our Yarn Helps You Succeed
Your choice of yarn can make learning these techniques so much easier. Working with our 100% mercerized cotton yarn gives you a huge advantage. Its smooth finish and tight twist provide incredible stitch definition, which means you can clearly see the top "V" of every single stitch.
This clarity is crucial when you're trying to find the right place to insert your hook for that first or last stitch, especially when crafting detailed amigurumi dolls. There's no fluff to hide mistakes, which helps you build muscle memory and consistency with every single row. To learn more about the stitches we've talked about here, check out our guide on the most common types of crochet stitches.
The Importance of Consistent Tension and Stitch Counting
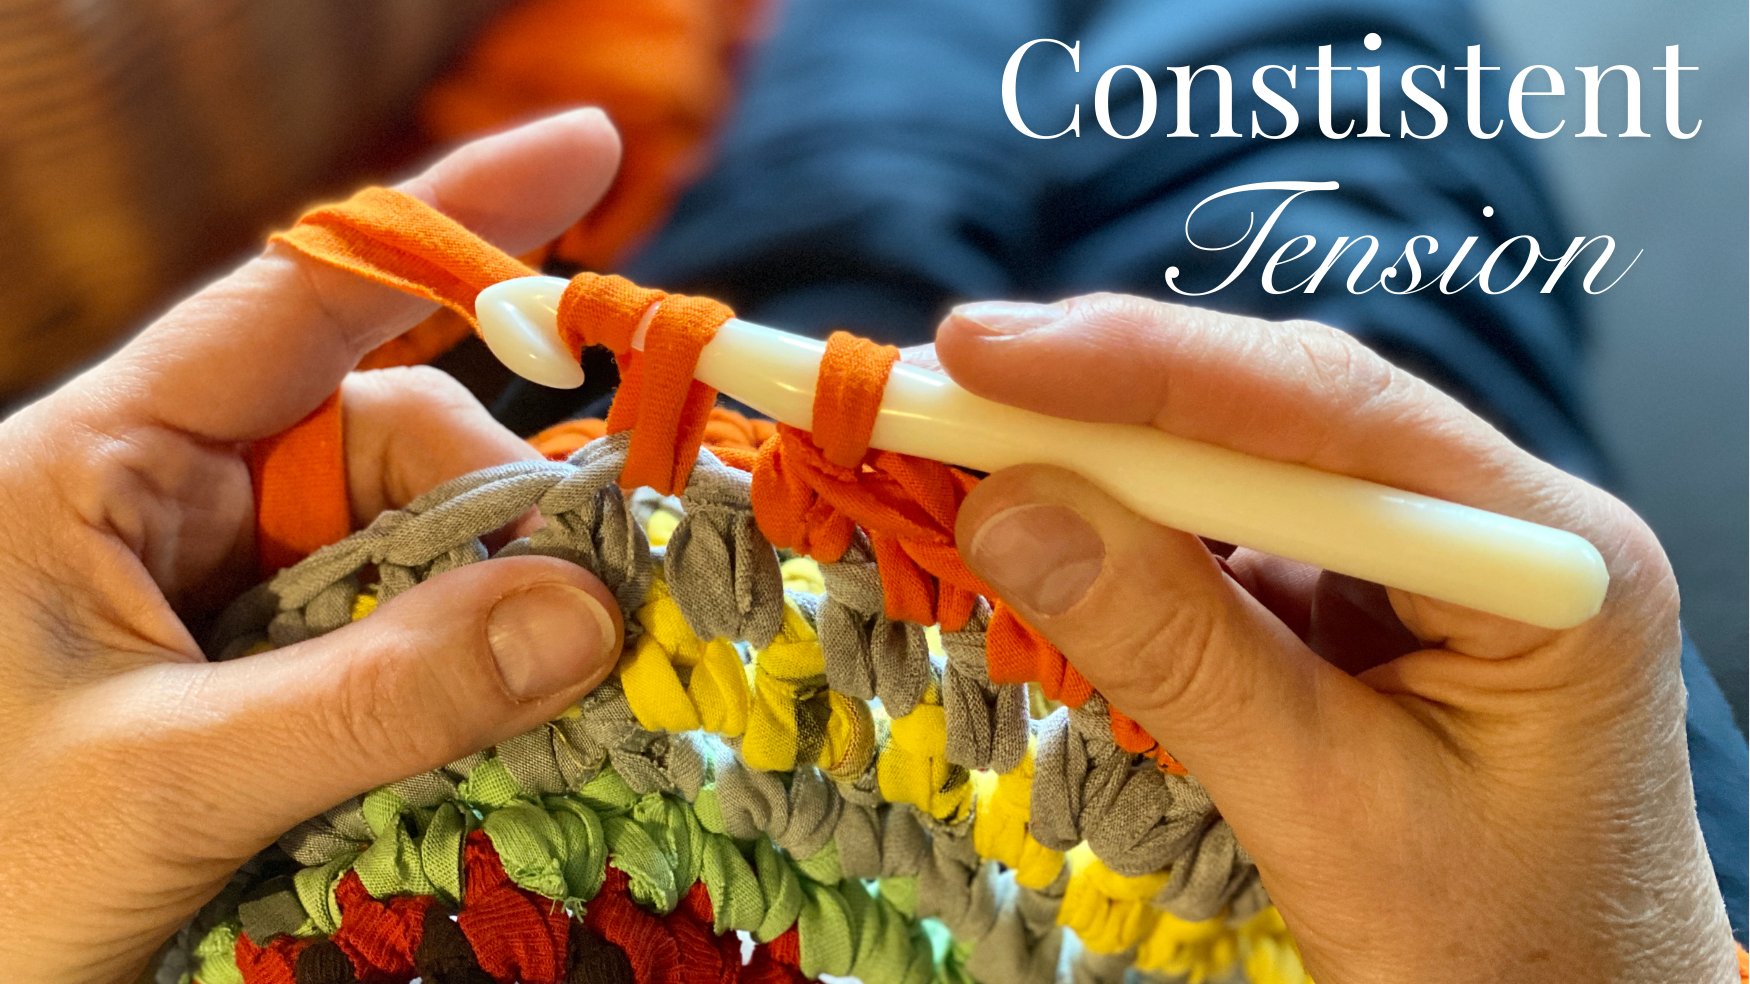
Even if you’ve nailed your turning chains, two other quiet saboteurs can ruin your quest for perfectly straight edges: inconsistent tension and a wandering stitch count.
Think of it this way: your crochet project is like a brick wall. Each stitch is a brick. If your bricks are all different sizes because your tension is all over the place, that wall is going to bulge, pinch, or lean. The same thing happens to your fabric.
When some rows are worked tightly and others are loose, your edges will fan out or pull inwards, creating a wavy, unpredictable line. Getting into a relaxed, consistent flow is what really elevates your work from good to great.
Finding Your Natural Rhythm
Every single one of us has a natural tension. Some of us are tight crocheters, while others are loose. Neither is wrong, but consistency is everything. How you hold your yarn and hook plays a huge role in this.
Try these simple exercises to find and maintain your groove:
Practice with Swatches: Before starting a project, just make a small 4x4 inch swatch. Don't stress about perfection; this is your chance to focus on how the yarn feels flowing through your fingers. This is your warm-up, helping you settle into a comfortable, repeatable rhythm.
The "Wrap" Method: Play around with how you wrap the yarn around your fingers. Some people weave it through multiple fingers for more control, while others prefer a simple loop over their index finger. Find what feels natural and helps you maintain even tension.
Your Hook Grip: Are you a "pencil grip" or a "knife grip" person? There’s no right answer, but a relaxed, comfy grip prevents hand strain, a major cause of tension shifts.
Your goal isn't to change your natural style, but to make it second nature. For a deeper dive, you can explore our guide on why you might be struggling with your crochet tension.
The Unskippable Step of Stitch Counting
Now for the most important habit you will ever develop in crochet: counting your stitches. This is the ultimate, non-negotiable safeguard against uneven edges. Accidentally adding or dropping a stitch is the number one reason projects get wider or narrower, and counting is your foolproof way to catch it right away.
Counting your stitches isn't a chore; it's your quality control. It's the discipline that guarantees your project will turn out exactly as you planned, with the beautiful, straight edges you deserve. You are building excellence one stitch at a time!
I know, it can feel tedious at first, but it saves so much frustration later on. Make it a personal rule to count at the end of every single row, or at least every few rows on larger pieces.
To make counting less of a headache, try placing a stitch marker every 10 or 20 stitches. This breaks the task into smaller, manageable chunks and makes it easy to spot a mistake without having to count the entire row from the start. Trust me, this simple practice is what truly builds confidence and creates that clean, professional fabric every time.
Troubleshooting Common Edge Problems
Even when you feel like you’re doing everything right, sometimes your crochet edges just decide to go a little rogue. Don't sweat it, this happens to everyone! Think of this as your field guide to becoming a crochet detective, so you can spot the clues and fix the issues with confidence.
You can actually "read" your crochet fabric to figure out what's going wrong. Catching a problem early is the key to fixing it before it becomes a real headache, making sure your projects have those beautifully straight edges you're working so hard to achieve.
Why Are My Edges Wavy or Ruffled?
One of the most common complaints I hear is about the dreaded wavy edge. You’ve counted your stitches religiously, the number is perfect, but the sides are still rippling like a flag in the wind. What gives?
This is almost always a sign that your turning chain is too loose or too tall for your stitches. All that extra slack adds just enough fabric to the edge to cause that annoying ruffle. For example, if you're using a chain-3 for a double crochet but your tension is on the looser side, that chain is probably creating too much height. Try using a chain-2 instead and see if it pulls things into line.
Is Your Project Growing or Shrinking?
Does your project look more like a trapezoid than a rectangle? This is a classic stitch count issue, and it usually comes down to one of two things.
Getting Wider (Increasing): If your work is fanning out, you’re almost certainly adding stitches by accident. This usually happens right at the beginning of a row. A common mistake is working your first stitch into the base of the turning chain and into the first proper stitch, which creates two stitches where there should only be one.
Getting Narrower (Decreasing): If your project is shrinking, you're dropping stitches. This sneaky mistake typically happens at the very end of the row. It’s incredibly easy to miss that last stitch, especially if your tension is tight or you’re working with a dark-colored yarn that hides it.
For a deeper dive into common pitfalls, be sure to check out our complete guide on the top crochet mistakes you must avoid.
To help you quickly diagnose what's happening with your project, I've put together this little troubleshooting table.
Common Edge Problems and How to Fix Them
|
The Problem (What it looks like) |
The Likely Cause |
The Solution (Actionable Tip!) |
|---|---|---|
|
Edges are wavy and rippling. |
The turning chain is too loose or too tall for the stitches in the row. |
Reduce the number of chains in your turning chain (e.g., use a ch-2 for a dc instead of a ch-3). Experiment on a swatch! |
|
The project is getting wider over time. |
You're accidentally adding a stitch, usually at the beginning of the row. |
Be careful not to crochet into the base of the turning chain. Action: Place a stitch marker in the very first stitch of the row. |
|
The project is getting narrower. |
You're accidentally skipping the last stitch of the row. |
Action: Place a stitch marker in the last stitch of every row so it’s impossible to miss. |
|
The fabric is puckering or pulling inward. |
The crochet hook is too small for the yarn weight, creating overly tight stitches. |
Try going up a hook size to loosen your tension and allow the fabric to lay flat. Make a test swatch to check. |
Remember, using stitch markers in the first and last stitch is the single best habit you can build to guarantee a consistent stitch count.
The Role of Your Tools and Yarn
Sometimes, the problem isn't your technique, it's your tools. Using the right hook size for your yarn is crucial. A hook that’s too large for the yarn your are using can create loose, floppy stitches that lead to wavy edges. On the flip side, a hook that’s too small will make your stitches painfully tight, causing the fabric to pucker and pull inward.
Don't be afraid to experiment! Swatching with a hook size slightly up or down from what's recommended can help you find the perfect match for your personal tension.
Finishing Touches: Blocking for Crisp Edges
You've done the hard work. Your turning chain is on point, your tension is nice and even, and you've nailed the stitch count in every row. So, what’s the secret to taking your project from homemade to handmade-professional? The answer is blocking.
This simple finishing step is what separates good crochet from great crochet. It's the magic touch that ensures all your careful work pays off, relaxing the fibers and setting your stitches into perfectly straight lines.
Think of it as a spa day for your yarn. You're basically wetting or steaming your finished piece and pinning it into its final, perfect shape. This process coaxes out any minor inconsistencies, evens out the tension, and makes your stitch definition really pop.
Why Blocking Works Wonders on Cotton
Blocking is especially effective for natural fibers, and it works like an absolute charm on our mercerized cotton yarn. The mercerization process already gives the cotton a beautifully smooth and strong structure; blocking just helps the fibers lock that perfect shape into their memory.
Our fingering weight cotton doesn't have the "boing" or elasticity of wool, which means it holds its blocked shape incredibly well. This is a massive advantage when you're making amigurumi parts that need to fit together perfectly.
Choosing Your Blocking Method
There are a couple of ways to go about it, and the right one just depends on your project and what you're comfortable with. Both are fantastic for achieving that polished, finished look.
Wet Blocking: This is the deep-dive method. You'll submerge your piece completely in cool water for about 20-30 minutes, gently squeeze out the excess water (please, never wring it!), and then pin it out on blocking mats to your exact dimensions.
Steam Blocking: This is a quicker option. First, you pin your dry project to the mats. Then, you use a handheld steamer or the steam function on an iron to apply steam from a few inches away. The key here is to never let the hot metal touch the yarn. The steam relaxes the fibers, and you just let it dry completely.
A Common Myth Debunked: I hear a lot of crocheters worry that blocking will "kill" their cotton yarn, leaving it limp and lifeless. With mercerized cotton, that's simply not true! As long as you stay away from direct, high heat, blocking will only enhance its natural sheen and stitch definition, giving it a gorgeous drape and structure.
Once you’ve pinned your piece, gently tug and stretch the edges until they're perfectly straight. I like to use a ruler or measuring tape to make sure everything is precise. Use T-pins to secure the corners and sides, and then just let it air dry completely before taking out the pins.
This final step is your last little bit of quality control. It’s the polish that evens everything out and guarantees your dedication to learning how to crochet straight edges truly shines through in a beautifully finished piece.
Why Straight Edges Matter in the Craft World
While crocheting is a wonderfully relaxing hobby, learning how to get those edges perfectly straight is a skill that truly takes your work to the next level. It’s the difference between a project that looks like a practice swatch and one that feels polished and professional. Mastering this is what builds a solid foundation, opening up a world of exciting possibilities.
Clean, straight edges are an absolute must for any project that needs to be seamed together. Think of beautiful granny square blankets, stylish cardigans, or sturdy tote bags. When each piece has a perfectly straight side, they join together seamlessly, creating a flawless finish without any weird puckers or gaps. This is especially true for amigurumi, where perfectly seamed parts create a truly professional and adorable doll.
Elevating Your Craft to a Professional Standard
This is where the quality of your work really shines. A finished item with crisp, even edges simply looks more impressive and well-made. It’s a small detail that speaks volumes about your skill and dedication as a crafter.
Seeing your projects come together with perfectly straight edges is so rewarding. It’s not just about a clean finish; it’s a visible sign of your growing skill and confidence as a crafter. Every straight edge is a win!
Ultimately, don't think of perfecting your edges as a chore. See it as your gateway to becoming a more capable and confident maker. Each straight row is another step toward creating stunning, professional-quality items that you can be incredibly proud of, whether you're gifting it to a loved one or creating a beautiful amigurumi doll for your collection.
Your Questions About Straight Edges Answered
Even when you feel like you've got all the right techniques down, a few tricky questions can still pop up. It happens to all of us! Let's walk through some of the most common hurdles crocheters face on the journey to perfectly straight edges.
Why Are My Edges Still Wavy If I Count My Stitches?
It's one of the most frustrating things: you’ve counted every single stitch, but your edges are still rippling like a flag in the wind. If the count is right, the problem is almost always the turning chain.
When a turning chain is too tall or loose for the stitch you're using, it introduces just a little too much slack at the end of the row, causing that wavy effect. For instance, the classic chain-3 for a double crochet can be too generous for some people's tension. Try dropping it to a chain-2 and see if that neatly snugs things up. You could even look into a "chainless starting stitch," which is a neat trick for creating a first stitch that perfectly matches the height of your row without using any chains at all.
Does the Type of Yarn Affect How Straight My Edges Are?
Oh, absolutely! The yarn you choose can make a world of difference, especially when you're trying to build muscle memory for a new skill. A smooth, non-stretchy yarn with great stitch definition is your best friend here, as it makes it much easier to see exactly where your hook needs to go.
Our Recommendation: Practicing with a 100% mercerized cotton yarn can be a game-changer. Its crisp structure helps every stitch pop, making it easy to identify the top loops, which is critical for placing that final stitch correctly every time, especially when making small, precise amigurumi parts.
On the other hand, trying to master straight edges with a fluffy, fuzzy, or highly textured yarn can feel impossible. Those fibers tend to hide the tops of your stitches, making it incredibly easy to accidentally skip a stitch or poke your hook into the wrong spot. Stick with a clear, defined yarn while you're learning, and you'll build your confidence much faster.
Is It Possible to Fix Crooked Edges on a Finished Project?
Yes, there's definitely hope for salvaging a project with wonky edges! The most effective fix is to add a border. A simple single crochet or half double crochet border worked around the entire piece can work wonders, cleverly hiding most imperfections.
You can strategically add an extra stitch in the dips ("valleys") and skip a stitch on the bumps ("hills") to create a visual illusion of a straight line. While this doesn't actually change the shape of your core fabric, a well-planned border acts like a clean, polished frame. For an extra touch, a final blocking session can help relax the yarn fibers and smooth out any last little inconsistencies.


